This is a public note to myself for working with Audacity; which I don’t do too often, and I want to make sure I don’t forget it.
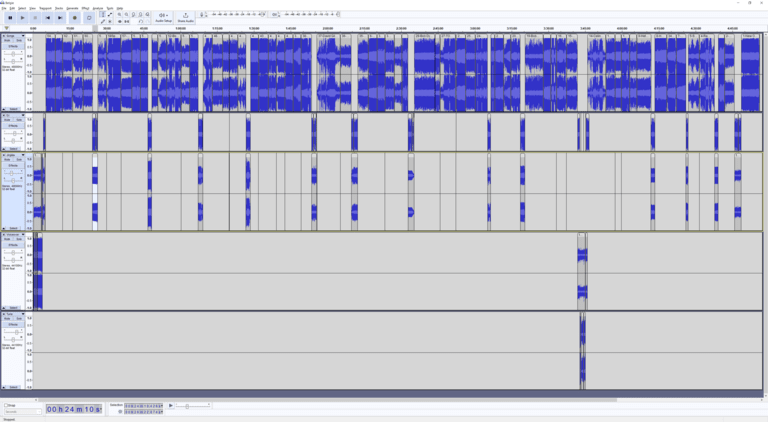
I recently created a 5 hour music project: a DJ radio show.

What I need from Audacity is:
- Copy and paste audiofiles together (cut, split, trim files): easy enough. Audacity is very intuitive for these kinds of things.
- Have a bit of backgroud music (jingles/tunes) over someone talking: so align or layer tracks.
- Fade tracks in and out.
- Export to one big file.
That’s mostly it.
Audacity is a very powerful tool, but also great for just these few things.
Tips
The biggest challenge when working with different audiofiles are volume differences. So most of these tips revolve around making sure the volume is correct.
Do not use the GAIN slider!
Firstly: do NOT use the gain sliders (at the beginning of each track) to adjust volume. This will bite you in the butt later. Especially when you have lots of different audiofiles on one track (which I have).
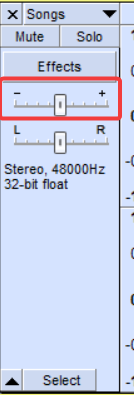
This might work if you have maybe one or two tracks. But in my case, adding different audio files (with different volumes!) to the same track; the gain slider becomes useless. This is the reason I five tracks, I used the gain slider on one of the tracks in the beginning. I later found out that this was a dumb move and it was too much work to retweak the volume of the audiotracks, so I left the gain as it was, and started a new track.
The tip is: use effects to change the volume of audiofiles!
Note: For all of the effects to work you first need to select (part) of a track or audiofile.
Effects: Amplify
Amplify voice tracks (especially), and always use the recommended setting. Audacity knows how much it can amplify. Do this.

Under Effect -> Volume and compression.
Effects: Compressor
Compress with -30 / -60 / 3:1 / 0.10 / 1.0. I picked these settings up from here.
This will top off peaks, and boost your voice tracks to a maximum for much louder and clearer sound.
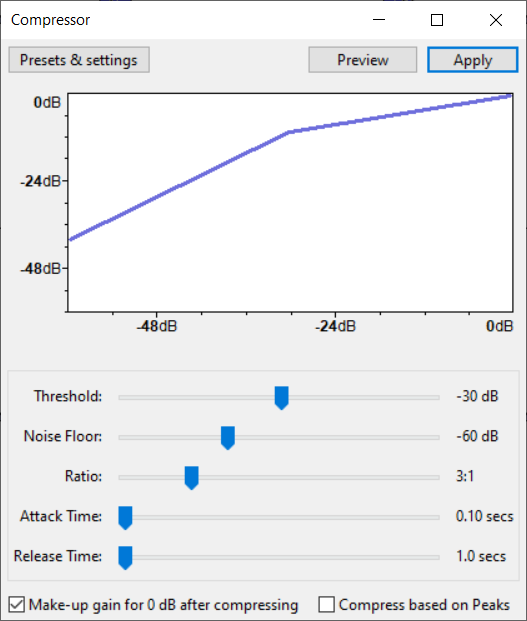
Under Effect -> Volume and compression.
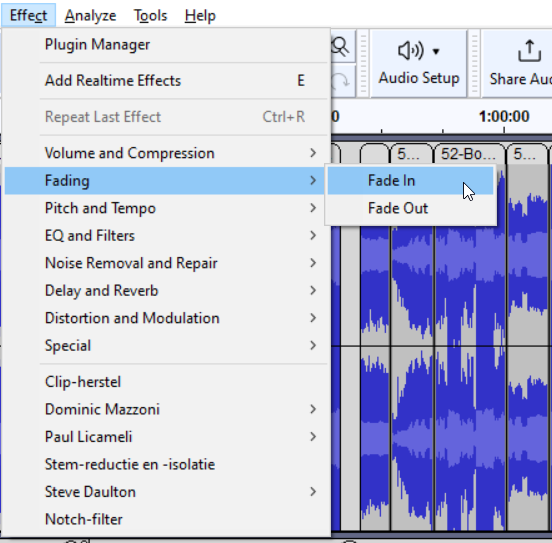
Effects: Fade-in / Fade-out
Use these to fade tracks in and out. Or crossfade tracks.
Select part of a track and select either In or Out.
Use longer or shorter stretches, listen to what sounds right.
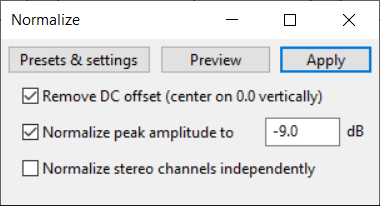
Effects: Normalize
If you want to reduce volume, use this. Play around with the setting. Again: do not use the gain sliders. The great thing is (as with most effects) you can use it on parts of an audiofile. Just select the part you want to normalize or amplify.
Also: see the Envelope Tool below (I did not know about this tool after finishing my project).
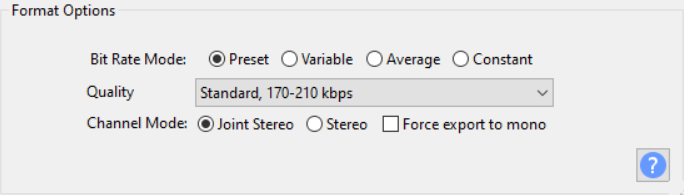
Export to MP3
I use the default settings. Audacity does the mix for you when you export your project (File->Export->Export as MP3). So I don’t mix everything down to one file before exporting (Tracks->Mix), there is no reason and you can’t really tweak your project anymore afterwards.
Overall Audacity does a good job of creating a good mix.
Things I later learned
After I finished the project I was pretty happy with the result but I picked up two new tips from this great YouTube video:
I have not used the next two effects, but for a next project I definitely might.
Effects: Auto Duck
Duck part of a track so the volume is lower. Great for voice-overs.
Envelope Tool
With the Envelope Tool (F2) you can drag and slide the volume of an audio file. Amazing.
One thing I wish I knew
Audacity is really good, I love it. There is one thing however — I am pretty sure there probably is a shortcut for — but I have not figured it out yet.
When cutting an audiofile at the end or beginning (which I did a lot near the end of the project), the length of the audiofile shrinks and the audiofile MOVES to fill the newly created gap! But every other track/audiofile after does not move. So I wish I knew how to automatically move ALL tracks and audiofiles over to fill the newly created gap all while keeping all the tracks correctly aligned.
What I do now is (after the cut) select everything (with my mouse) and move it to fill the gap. Seems there should be an easier way to do this.


